
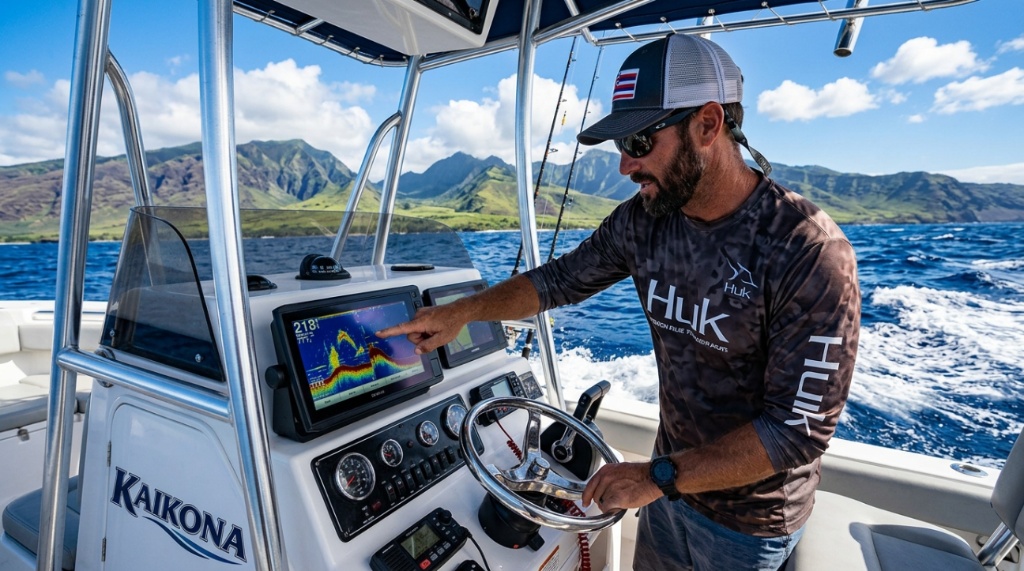

Hawaii’s waters are staggeringly deep, incredibly clear, and packed with marine life that behaves differently than in mainland lakes or rivers. If you’ve just mounted a fish finder on your boat or you’re frustrated by a screen full of clutter, you already know it isn’t as simple as turning it on and driving around. The real challenge isn’t the device; it’s learning to interpret what the sonar is telling you about the Pacific Ocean’s unique structure. From sheer drop-offs to fast-moving currents and bait balls that shift by the minute, fishing here demands a specific approach. In this guide, we’ll break down how to set up your unit, dial in your settings for Hawaiian depth ranges, and actually find fish rather than just watching a screen.
Key Takeaways
- Hawaiian waters require wider cone angles and higher sensitivity settings because of extreme depths and clear water conditions.
- Slow down and use “chart speed” adjustments to avoid missing fish arches over steep drop-offs and ledges.
- Understand how to separate baitfish masses from larger predators using target separation and bottom lock functions.
- Learn which sonar frequencies work best for shallow flats versus deep-water bottomfishing (trolling versus jigging).
- Use GPS waypoints efficiently to mark productive ledges and “structures” that don’t show up on traditional charts.
Understanding the Unique Sonar Challenges in Hawaii
Before you start pressing buttons, it helps to understand why your fish finder can act so differently here than it might on the mainland. The ocean surrounding the islands is not a lake or a shallow bay. The bottom drops away quickly – often from 100 feet to over 1,000 feet within a mile of shore. This extreme bathymetry creates issues with transducer ping speed, bottom loss, and signal scattering.
Water clarity also changes how sonar behaves. In murky river mouths, sound waves scatter quickly, giving you weak returns. In Hawaii’s clear, blue water, the signal transmits farther, but it also picks up more plankton, debris, and suspended particles. That means you’ll often see a field of faint dots above the actual bottom, which beginners often mistake for fish. Furthermore, the mid-water column is far less productive than in lakes; many Hawaiian species like onaga, ehu, and bottom snapper hug the structure closely, while pelagics like tuna and mahi-mahi may appear as arches at any depth. You need to think of the finder as a tool for structure recognition, not just fish detection. A solid piece of fish finder tips Hawaii is to treat your first few minutes on the water as a tuning exercise for these conditions rather than fishing time.
Setting Your Fish Finder: Frequency and Power
Most modern fish finders offer a range of frequencies, and selecting the wrong one is the most common mistake in Hawaiian waters. The frequency determines the shape of the sound wave and how much detail you can see. Lower frequencies (like 50 kHz) have a wide cone and travel deeper but produce a fuzzy, lower-quality image. Higher frequencies (like 200 kHz or 455 kHz) offer incredible detail but only at shallower depths.
Where to Use High Frequencies (200 kHz and Above)
If you are fishing the reef flats or working the ledges between 50 and 200 feet, keep your finder on 200 kHz. This gives you the crispest image of individual fish and allows you to distinguish between a small snapper sitting on the bottom and a rock. On modern units, using “High Chirp” (a sweeping frequency range) here is a game-changer, as it provides even better target separation with almost no screen noise.
Where to Use Low Frequencies (50 kHz or 83 kHz)
When you push beyond 300 feet for bottomfish, switch to 50 kHz or 83 kHz. The 50 kHz cone is wider, covering a larger area of the bottom, which helps you find structure like a pile of rocks or a small ledge that might only be a few feet off the bottom. The trade-off is that you will lose the ability to see a small fish sitting directly on the bottom next to a rock, but you increase your chances of spotting the general “structure hotspot” that holds the fish. If your unit has a “dual frequency” option, use it; the screen will overlay the wide cone (for finding structure) with the narrow cone (for finding the fish itself).
| Depth Range | Recommended Frequency | What to Focus On |
|---|---|---|
| 0 – 150 feet (Reef flats, inshore) | 200 kHz | Individual fish, bait schools near the bottom |
| 150 – 400 feet (Ledges, slopes) | 83 kHz | Structure, bottom hardness, scattered fish |
| 400+ feet (Bottomfishing depths) | 50 kHz | Wide area coverage, drop-offs, large schools |
Adjusting Sensitivity and Chart Speed for Deep Water
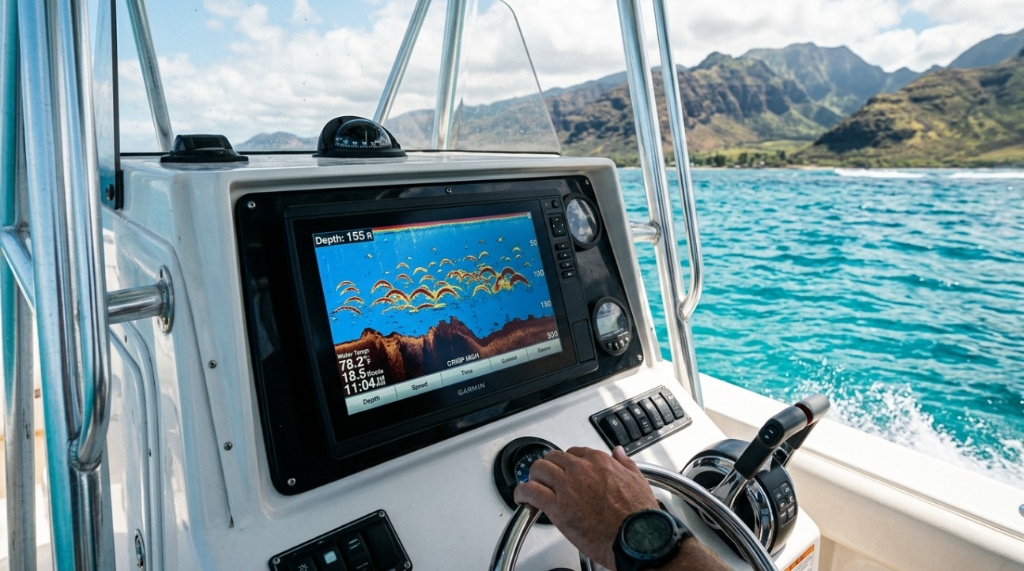
Two of the most overlooked settings in Hawaii are sensitivity and chart speed. In very clear, deep water, the fish finder may not display a fish at all if the sensitivity is too low, because the return signal gets weaker as it travels. However, turning sensitivity up too high will fill the screen with “clutter” – which in Hawaii is usually plankton or thermoclines (layers of water temperature change).
Start with auto sensitivity, then adjust manually. If your screen shows a solid, dark blue or black background with no detail, increase the sensitivity by 5% – 10%. If you see a constant snowstorm of tiny dots, decrease it until the background is just barely clear. You want to see the bottom as a distinct, solid line with a lighter “second echo” below it. If you have a “Surface Clarity” setting, set it to low or off in Hawaii; this filter can remove signals from surface baitfish, which is often where the ahi are looking for food.
Chart speed is equally critical. Most units default to a slow scroll speed to save memory. On a boat drifting over a steep drop-off in Molokai or Lanai, a slow chart speed will compress the image, making a 100-foot ledge look like a gentle slope. Increase the chart speed to 80-90%. This will stretch the image, giving you a much clearer view of how steep the bottom really is, which is key to finding the exact edge where fish hold, Planning a coastal trip to the mainland or looking for extra gear protection during ocean sessions? Make sure to Find Top Surf Ear Plugs for Florida Waves before your next paddle out.
Reading Bottom Composition and Hardness
In Hawaiian waters, not all bottoms are created equal. A sandy flat might hold a few weke (mullet), but a sharp coral head or a basalt rock pile will hold three times the life. Your fish finder can help you distinguish these if you know what to look for. Hard bottoms (rock, coral, basalt) reflect the sonar signal strongly. On the screen, this appears as a thick, bright red or solid dark line. Soft bottoms (sand, mud) absorb the signal, showing up as a thinner, lighter line.
Here’s where the “bottom hardness” feature (often called Bottom Penetration or Bottom Composition) becomes useful. If your unit has it, use it. But even without that feature, you can infer hardness by looking for a “second echo.” A hard bottom will produce a clear, distinct second return (a weaker reflection of the bottom trace lower down on the screen). If you only see one bottom echo and it looks faint, you are likely over sand. In bottomfishing for jacks or snapper, you want that thick, strong return. Once you find it, mark it on your GPS.
Using GPS Waypoints to Map Ledges and Drops
Hawaiian fishing is as much about mapping as it is about casting. The ocean floor is a maze of volcanic rock fingers, sudden pinnacles, and steep cliffs. The difference between catching fish and “getting skunked” often comes down to knowing where one specific rock ledge is in a stretch of otherwise boring bottom. Your fish finder’s GPS is your best tool for this, but only if you use it systematically.
When you find a significant drop or a “high spot” on an otherwise flat area, don’t just drop a waypoint. That is where most anglers fail. Instead, make a “figure-eight” pass over the spot. Watch how the bottom contour changes. Then, drop a waypoint at the top of the structure and another at the bottom of the ledge. This creates a line between two points that shows you where the “edge” is. Many advanced chartplotters allow you to connect waypoints to create a route that follows the contour line. That allows you to drift along the exact depth curve where the fish live, keeping your bait in the strike zone longer.
One mistake is marking spots too close to shore in shallower water. Tides in Hawaii aren’t massive, but current can be strong. A spot that looks good on the finder might be a high-current area where fish don’t hold. Use the GPS to note the direction of your drift while watching the trace. If you drift over a ledge and don’t see fish, but the bottom looks fishy, circle back and try again at a different tide stage before writing it off.
How to Spot Fish Arches vs. Bait Balls
The classic “fish arch” is a staple of fish finder education, but in Hawaii, you need to adapt your expectations. In deeper water, fish often sit so close to the bottom that they won’t form a perfect arch. Instead, they appear as a small “blob” just above the bottom line. If you are trolling for ono, the screen might show a single isolated arch hanging at 60 feet in 200 feet of water. That is a fish suspended in the water column, likely looking up for bait.
Identifying Bait Balls
Bait schools (opelu, akule, or nehu) show up as clouds or “bait balls.” On lower-end units, these appear as a red or orange shaded area. On higher-end units, you can see the individual fish within the ball. The key is not just the bait ball itself but what is under it or beside it. A large tuna or a school of mahi-mahi will often show as a fish arch hanging just off the edge of the bait ball, trying to push it to the surface. If you see a bait ball in open water, don’t stop the boat directly on top of it. Instead, idle just up-current and watch the screen. You want to position yourself where the larger predator is likely to be circling the outside of the bait.
Target Separation
This is a technical spec, but it matters. Target separation is the minimum distance the sonar can detect between two objects. If your unit has a target separation of 2 inches, it can show a fish sitting directly on the bottom as a separate mark from the bottom itself. If your unit has a poor target separation (like 4 to 6 inches), that same fish will merge with the bottom echo, and you will never see it. If you are struggling to see fish on the bottom in deep water, adjust your “A-Scope” or “Bottom Zoom” feature. This expands the bottom area on the screen so you can see the fish that are within a foot or two of the rocks, rather than just looking at the whole water column.
Common Mistakes to Avoid
- Running the boat too fast: At speeds above 5-6 knots, you will miss most individual fish marks. The transducer only “sees” a very narrow slice of water. For bottomfishing, you should be idling or drifting.
- Ignoring the water temperature gauge: The ocean temps change quickly around the islands. A drop of even 1 degree can push the fish away. Keep an eye on the temp reading on your fish finder; it’s often more valuable than the sonar for finding pelagics.
- Not controlling gain in clear water: As mentioned, clear water causes more noise. Don’t leave the unit in “auto” mode. Manually adjust the gain to reduce the clutter until you see a clean picture.
- Marking fish as “arches” only: As mentioned, in deep water, fish may not arch. Look for any distinct shape that is not the bottom or a school of bait. A single solid pixel blob half a foot above a hard bottom is likely a fish.
Specific Scenarios: Trolling vs. Bottomfishing
Your approach should depend on what you’re targeting. Trolling for marlin or mahimahi requires a different use of the sonar than dropping bait for ehu.
Trolling (Pelagics)
When trolling, you are usually looking for bait and temperature breaks. Often, the sonar is set to a wide view so you can see bait at 100 feet. But the most important application is the “Cone Angle” versus the depth. At a trolling speed of 8 knots, your transducer’s cone is not covering the spot where your lures are running (they are typically back 200-300 feet). So, using the fish finder to spot a fish while trolling is often luck. Use it to spot the bait first. If you see a massive bait ball, turn around and pass through the area, even if you don’t see a predator on the screen. The predator is there; you just aren’t seeing it because of the transducer cone miss.
Bottomfishing (Demersal)
This is where you should use your fish finder like a surgeon. Set the unit to “Bottom Lock” mode. This locks the bottom of the screen to the actual bottom, and stretches the scale (like 10-20 feet) so you can see fish right on the rocks. When you see a mark that looks like a small bump above the bottom, that might be a school of snapper. Drop your bait directly on that mark. Do not drop it off to the side. The precision here is the difference between a box of fish and a quiet night. Also, note the time of day; bottom fishing in the day is often slower, so use the “Fish ID” feature on your unit to help differentiate between the species if you don’t have experience. Some units will show “fish icons” instead of arches. While less visually informative, this can be easier for a novice to recognize that there is life down there.
Frequently Asked Questions
Why is my fish finder not showing fish in deep water?
Most likely because the sensitivity is too low and the chart speed is too slow. Increase the sensitivity until you see noise, then back off slightly. Also, go to a lower frequency like 50 kHz to get a wider cone and more power to reach the bottom at depth.
Is a GPS necessary on a fish finder for Hawaii?
Yes. The bottom structure in Hawaii is extremely complex. Without GPS, you cannot return to a specific ledge or drop-off you found on a previous trip. The ability to drop waypoints on a productive area and return to it is essential for consistent catches.
What is the best frequency for trolling in Hawaii?
Use a high frequency (200 kHz) for trolling to get the best definition of bait schools and individual fish near the surface. The deeper 50 kHz frequency is less useful when trolling because you are usually looking up in the water column, and the definition at speed is poor.
Can I use my fish finder in very shallow water (less than 10 feet)?
Yes, but you should increase the ping speed if your unit has that setting. In shallow water, the fish finder can sometimes confuse the surface water movement with fish. Turn on “Surface Noise” filter or use a dedicated shallow water mode if you have one.
Does water temperature matter on the fish finder display?
Absolutely. The temperature reading on your finder is a crucial data point. In Hawaii, pelagic fish like tuna are heavily influenced by temperature breaks. When you see the water temp change quickly on the display, slow down and watch the sonar for the bait that often accompanies the break.
Conclusion
Learning to use a fish finder effectively in Hawaii is about adapting to the environment. The extreme depths, clear water, and rugged bottom structure require you to be more active with your settings. Start by focusing on depth and frequency. Make sure you are using a wide enough cone to find structure, and a high enough frequency to see fish sitting on that structure. Slow your boat down, increase your chart speed, and control the gain manually to avoid clutter. Finally, use the GPS to build a map of ledges and bottom hardness marks so you can return to productive spots on calm days. By understanding the water column and the way sound travels in it, you’ll spend more time with your rod bent and less time staring at a confusing screen.